
Disclaimer: The useful part of this post is just a rehash of this amazing resource which got my hardware working. I’m writing this mostly in case this page and knowledge vanish from the internet
Meet the Tablet before Tablets
Many years decades(!) ago I bought a laptop for the purpose of taking handwritten notes in meetings. This was the Toshiba Portege/Portégé M200, which first came out in 2004.
It was a tablet at the time (called Tablet PC’s now), meaning it was a laptop that also accepted stylus input. This one was unique in that you could twist the screen around so you’d have a thick writing surface and what looked like only a screen with a few buttons on it at the bottom, a very strange look for the time.
It was cool, but was a bit impractical for me. Turns out I held meetings better on paper (still do) but it was a cool novelty I never could bring myself to part with.
I dug it up again recently along with an SSD I had lying around and figured I was good to go. After all, 9 times out of 10 just adding an SSD to an old HDD-based laptop is all you need for it to feel modern. I was wrong. This is a list of things I tried to upgrade it, followed by the one thing that worked (skip here if you don’t want the whole story).
Strange Commercial Decisions in the Toshiba BIOS
So, first step is to download the latest Ubuntu and copy a bootable ISO onto a USB, right?
Well, here are the boot menu options in the BIOS :
- Hard Disk
- Floppy Disk
- CD-ROM
- Network
- External laptop PCI card
You’ll note a distinct lack of USB option here. Also, the laptop itself doesn’t have a floppy disk drive or CD-ROM drive built-in, and the Toshiba BIOS only recognizes Toshiba-branded floppy disk and CD-ROM drives. I liked this thing, but I didn’t want to search eBay for some random accessory just for booting.
That left little choice and lots of creativity.
Network: PXE boot attempt
The natural first choice was doing a network boot.
This set-up makes sense if you’re, say, a large company with a dedicated network install server somewhere. But when you just have one computer, you have to improvise a bit.
Ingredients
- A network server running Linux
- also needs an ethernet port
- also needs another internet connection that’s not the first ethernet port
- A network switch (or a crossover cable)
- 2 ethernet cables (or, again, just a single crossover cable)
Process
The client (the Portege in this case) asks the network for a network address via DHCP and for an address to find a bootable image, which it then transfers using SFTP. So you need a DHCP server and SFTP server running on the server image, along with the bootable client image you’re looking for.
Ubuntu does have this process, albiet sparsely documented, here: Ubuntu Forums Netbooting
It tells you to use dnsmasq, which is a nifty utility for setting up DNS, DHCP, and also SFTP in one.
Extra notes before using the Ubuntu guide
-
You’ll probably have a set up where your server machine is connected to 2 networks, your ‘real’ network and then your mini-wired network you’ve created to do the netboot. In this case, it’s a good idea to disable
dnsmasq’s DNS so it doesn’t collide with your own DNS. You do this by settingport=0. -
You need to include the extra conf files to be read (which is not done by default)
-
You also need to include a netmask value for the
dhcp-rangeto work right -
You need to be sure the interface you’re using is set to a static IP address, and that IP address is within the range you specify in the
dhcp-rangecommand -
I found it was easier to hardcode the IP address I wanted the client to have based on its MAC address. You can do that with the
dhcp-hostsetting
Summary:
Change the following in /etc/dnsmasq.conf:
1
2
# include all files in a directory which end in .conf
conf-dir=/etc/dnsmasq.d/,*.conf
After following the Ubuntu guide, change the following in /etc/dnsmasq.d/pxe.conf:
1
2
3
4
5
# disable DNS
port=0

dhcp-range=<interface-name>, 192.168.0.1, 192.168.0.200, 255.255.255.0
dhcp-host=<host-MAC>, 192.168.0.10
Where <interface-name> is something like eth0. (If you’re not sure you can run ifconfig and find out what the interface is called). <host-MAC> is in plain hex format, so something like 00:de:ad:be:ef:00 except with your device’s MAC address
Status
😢
Why did it fail? Well, I couldn’t actually get the SFTP server to send pxelinux.0 file over. I kept getting errors saying the file wasn’t transferred. I’m not sure if the protocols didn’t match or what, but this was where I got stuck. So I tried a new approach
Hard Disk: Install Linux using Linux attempt
This seems simple enough. You have a linux machine already, why not just take the hard drive out of the original machine and install linux on the hard drive using a different machine?
Ingredients
- Linux machine that can take a bootable USB
- Bootable USB
- USB dongle that lets you attach the Portege internal harddrive to a USB cable
Process
The hardware back then was super-easy to screw and unscrew. I just removed the harddrive and attached it using the dongle.
Then, I used an Ubuntu installer and installed Ubuntu on the secondary hard-drive when prompted (instead of the main harddrive).
Status
🙎🏼
Why did it fail? Well, it appears Ubuntu is too smart for its own good. Doing this does install Ubuntu on the disk, but it makes some assumptions about your system… mainly that it’s living on the system it’s currently attached to. So if that system uses UEFI, let’s say, then it will go ahead and use that for booting, irrespective of whatever system it will be moved to later.
This process had some promise, but there would be no way to do it without doing some major re-tweaking of the OS after it was installed.
Hard Disk: Sneaky ISO attempt
Ok, so what if I use the detached external hard-disk itself as the install mechanism?
Ingredients:
- Machine that can write a bootable ISO
- USB dongle that lets you attach the Portege internal harddrive to a USB cable
Process
I tried partitioning the harddrive into several partitions, so I can write the bootable ISO into one partition and install the OS into another partition.
Status
🤬
Why did it fail? Well, apparently an ISO file isn’t supposed to be writeable to a partition, but should and will take up a whole device.
Despite this, it seems that throughout the years, various tools from Gparted to Unetbootin have had versions that, through some quirks, let you do this. However, it looks like unstable behavior and running old software that’s known to have bugs is usually not a good idea.
‘Secret’ Floppy Disk: The attempt that worked!
I was finally giving up, when I came across this amazing post someone had made, outlining his attempts.
The rest of this section is more-or-less verbatim repetition of his instructions just so there’s another copy of them somewhere on the internet.
Ingredients
- SD card with less than 1 GB storage, formatted as FAT16
- Another machine capable of writing to said SD card
- Bootable USB with a non-PAE Linux distro on it1
Process
Ok, this is quite nuts. Basically, the portege has a SD card reader that the BIOS treats as a very special floppy disk drive. It only works in the BIOS as a bootable device if it has a really exact format.
Specifically:
- Format the SD card as FAT16, non-bootable
- Download PLOP boot manager
- Extract and copy
pblpbt.imgonto the SD card, renaming it$tosfd00.vfd2
Now, stick the SD card into the Portege SD card reader, and press F2 while booting. This will let you select the proper boot icon using the arrow keys. Pick the one that shows an SD card lying on top of a floppy disk drive.
You should be looking at the PLOP boot manager. In here, go to Setup > Bootmanager > Force USB 1.1 and then leave with hitting escape.
Now, the ISO on the USB drive should boot (again, assuming non-PAE1 ISO)!
Status
🤯
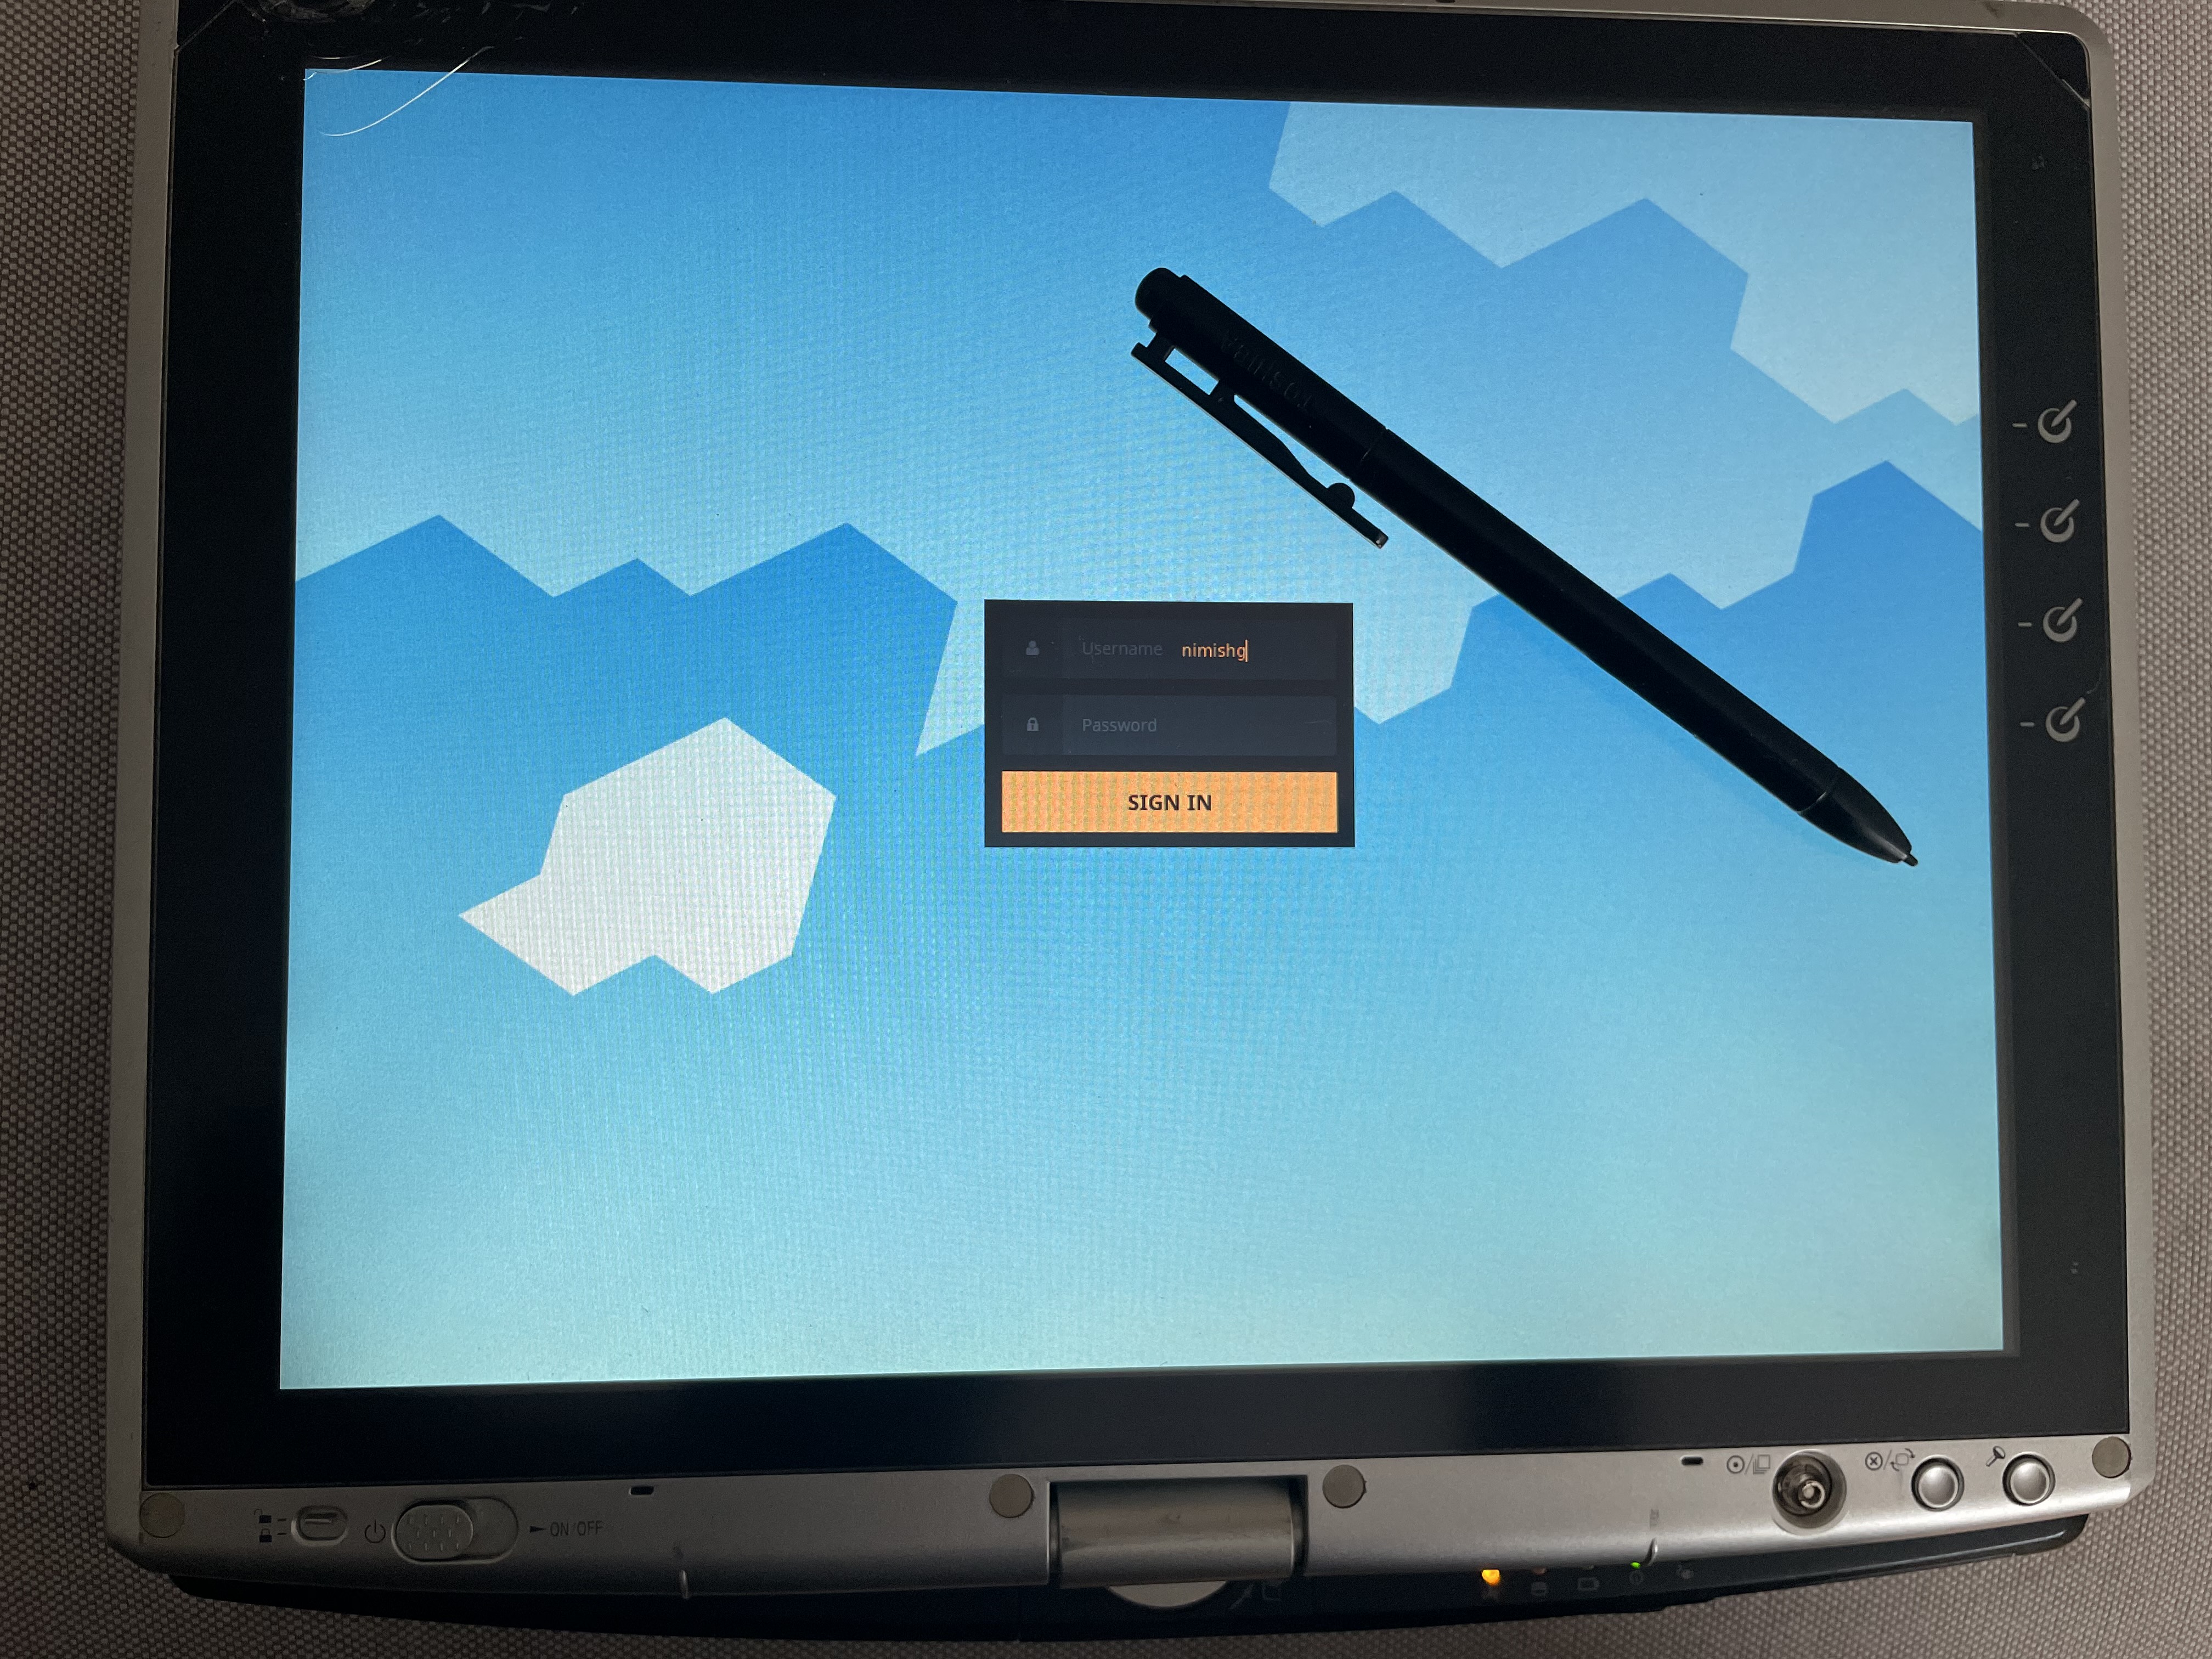
It… actually worked! It was the most long, drawn-out, painful thing ever, but it finally worked in the end!!
I was able to install:
- AntiX Linux (meant to sound like ‘antiques’ and not ‘anti-X’) as a baseline OS
- Xournal for notes/drawing
- Cell Writer for handwriting input
- Florence as an on-screen keyboard
The system (using a SDD and 2GB RAM upgrades) is actually very responsive and 100% usable as a Linux system. Don’t expect it to do video very well (streaming, calling, etc) but otherwise totally great, and the pressure-sensitive stylus and screen work totally as expected right out of the box!
Conclusion
So, there was really not a lot of point doing this. It probably would have been cheaper to get a more modern Tablet PC and tweak that. Also, with the PAE architecture becoming standard, it’ll only be a matter of time before the above is only possible as an art project and won’t result in a system with a usable distro. Still, though, cool to have a fully-functional modern 2-decade old machine!!
Notes
-
Old Intel CPUs would only be able to address 4 GB, until they were built with an extension (PAE) that let them address more. At some point the Linux kernel made this standard, meaning if you have an older, pre-PAE CPU (like the portege has), you have to have a linux kernel image that does not rely on PAE. Yes, this was news to me too, so my other attempts wouldn’t’ve worked anyways. A good linux image for this at the time of writing is AntiX Linux ↩ ↩2
-
I have no idea how the original person who made this post discovered this quirk!! ↩